Saturday, August 27, 2016

Stroopwafel

While flying to Seattle in April, MDS and I enjoyed the stroopwafel provided by United. The flight attendant suggested that we set the cookie over the cup of hot coffee to allow the caramel in the middle to melt a bit. Oh my were the warm stroopwafel delicious. I had not seen these cookies before, but I thought that they looked a lot like two pizzelles with some caramel sandwiched in the middle. I knew that I could make these cookies at home.

Stroopwafels are from the Netherlands. Just as I thought, the cookies themselves are made on an iron press, just like pizzelles. The filling in the middle is caramel, so I used the slow-cooker method to make dulce de leche (a type of caramel) to use as the filling. There are other ways to make caramel sauce, but the method explained below does not require much work and the result is delicious.

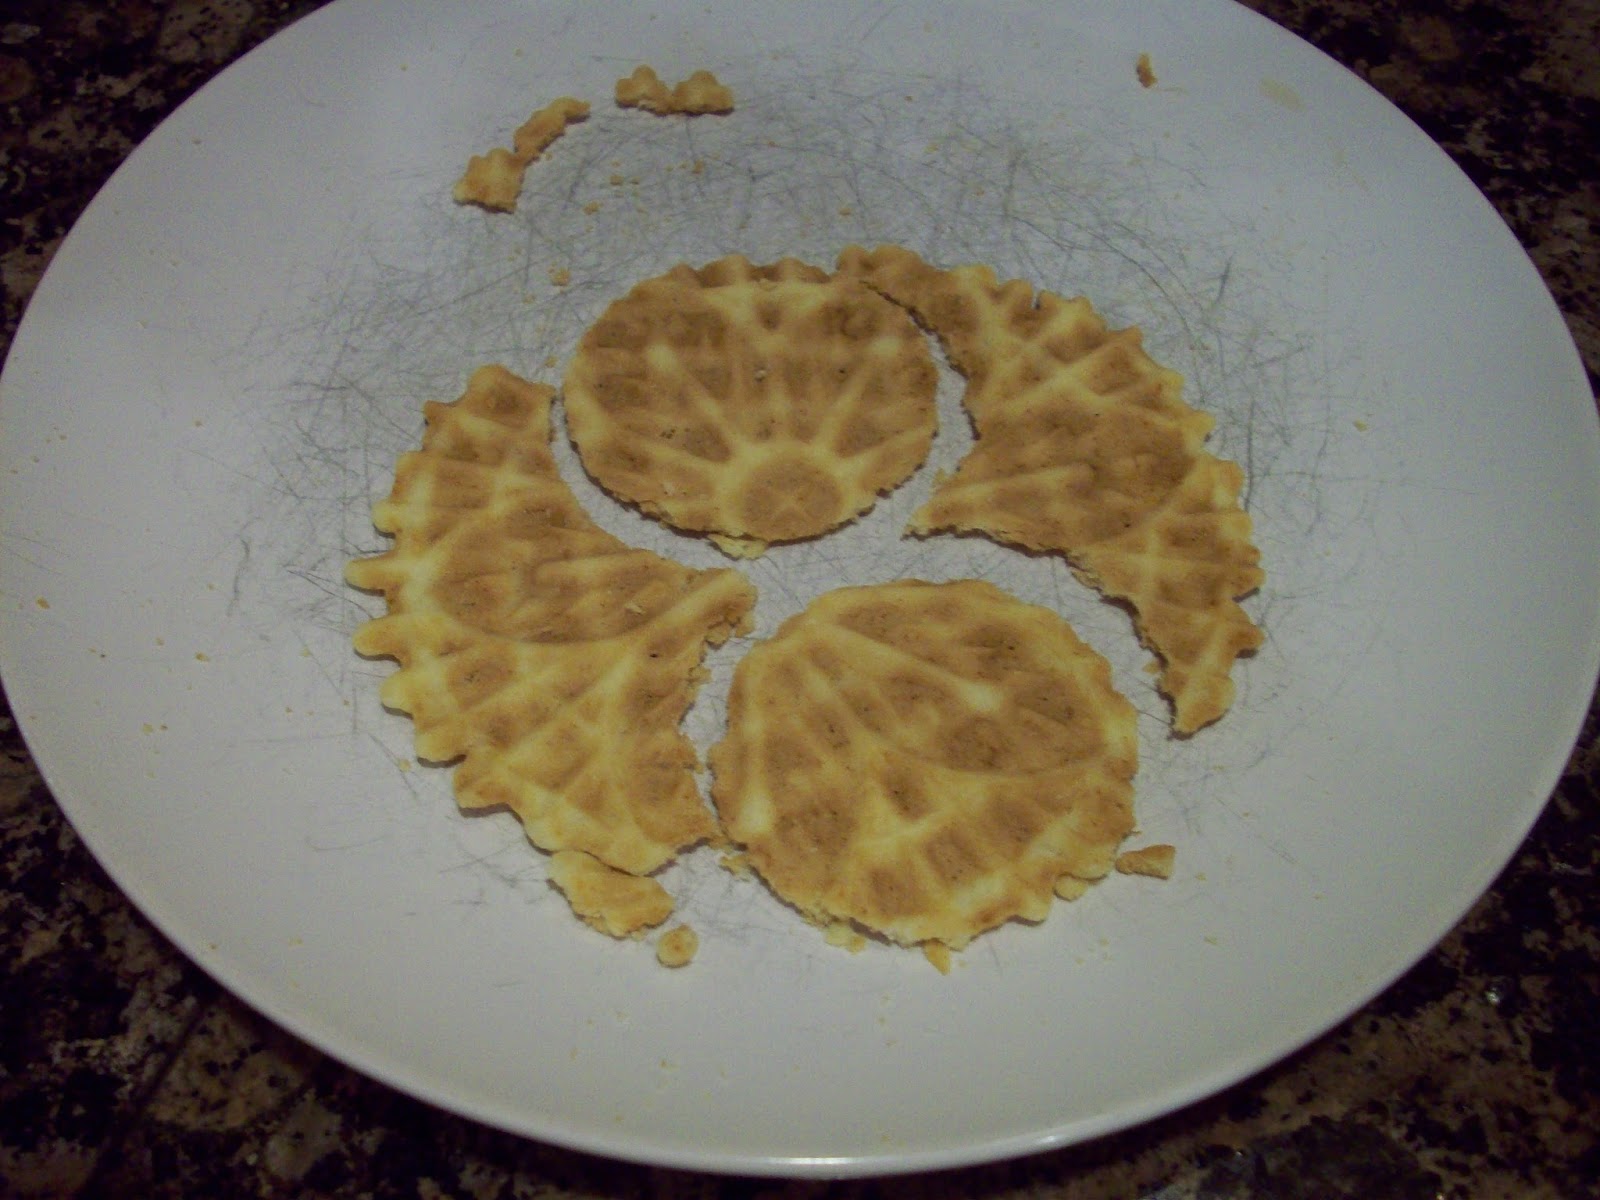
I made this batch for my niece Amanda's 10th birthday party. In the picture, the stroopwafels make an appearance at the very bottom of the picture. Everyone in the picture is focused on Amanda and her awsome cake made by her brother Ryan. Rather than use full size pizzelle, which would work just fine, I used a cookie cutter to make smaller bite-sized sized cookies from the pizzelles when they were fresh off the iron and still quite soft. I used a simple circle for these pizzelles, but you could use any shape cookie cutter. Or, just use the full-sized pizzelles.

Stroopwafels 
  • 1 can sweetened condensed milk
  • One batch of pizzelles
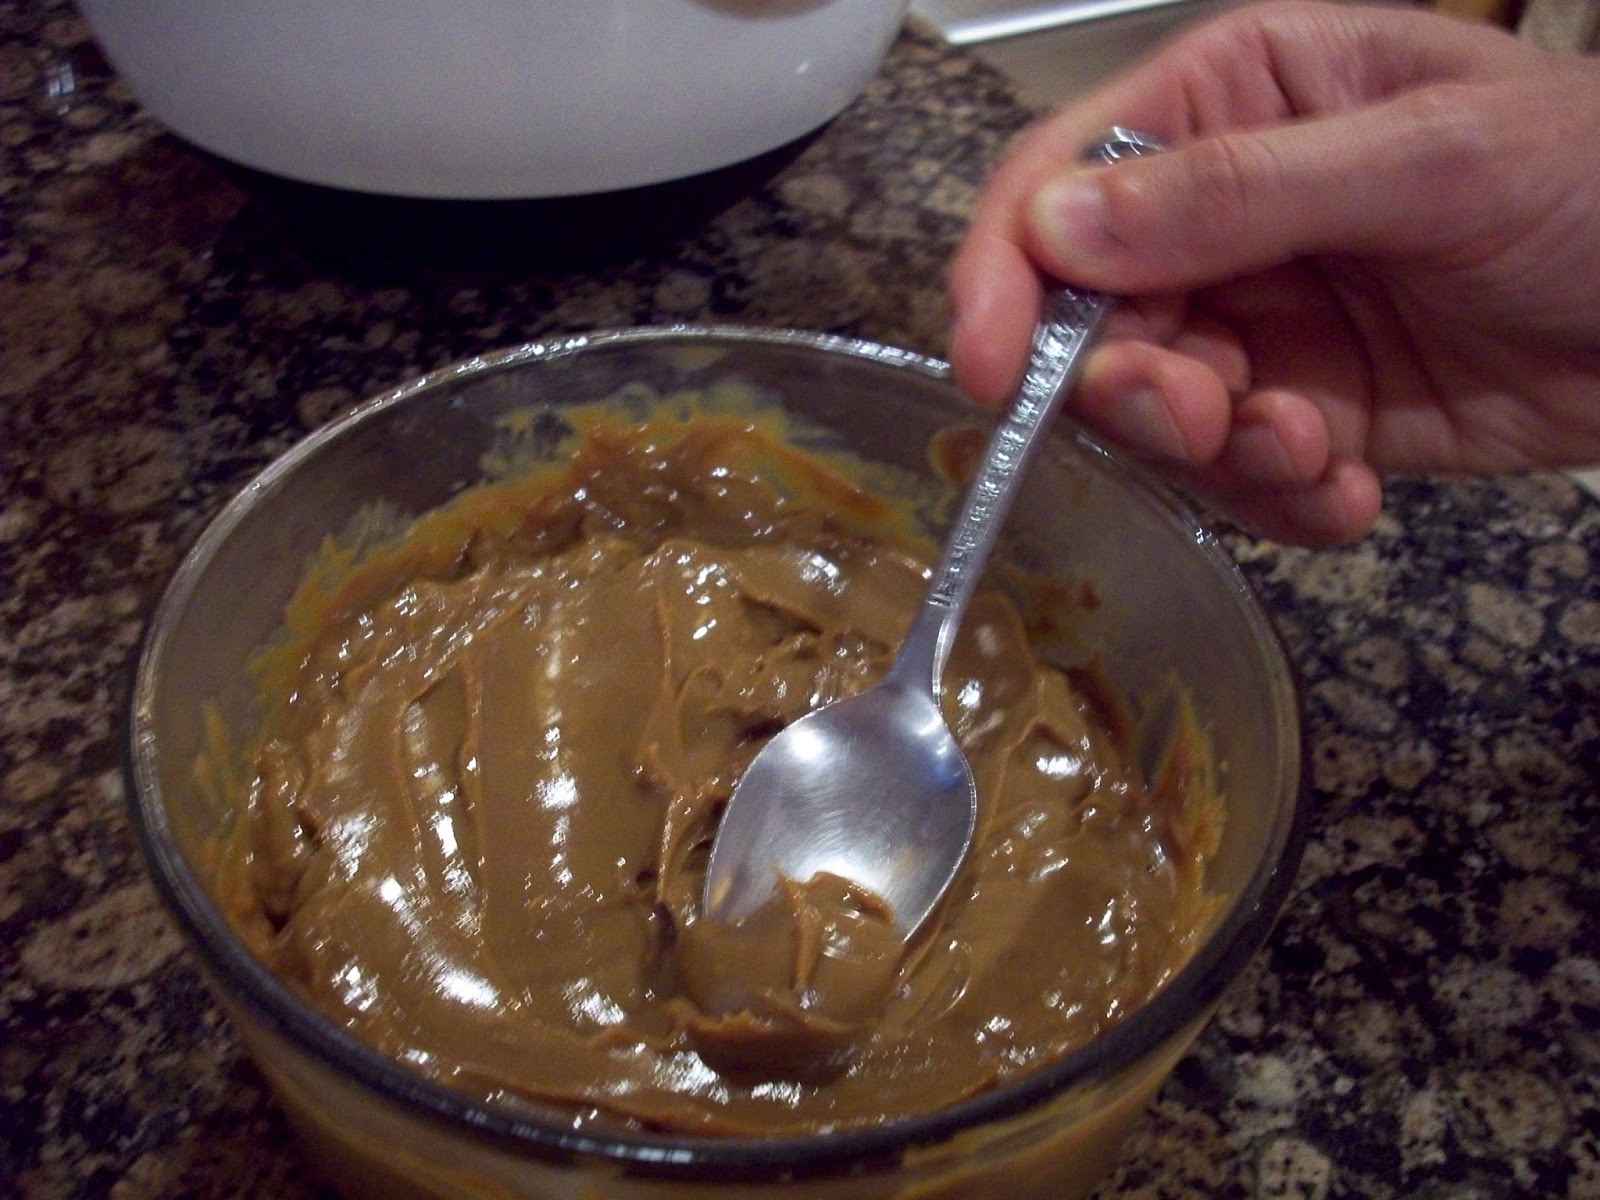
Remove the paper label from the can of sweetened condensed milk. Place the unopened can in a slow cooker on its side for more even cooking. Fill the slow-cooker to completely cover the can and then  one more inch of water. Turn slow cooker on to low and allow to cook for 8 hours. Turn the slow cooker off and allow the can to fully cool to room temperature before opening the can. You can submerge the can in cold water to help it cool faster. After opening the can, store the caramel in a glass container. It will last several weeks in the refrigerator.

Carefully place a spoonful of the caramel on a pizzelle and spread if needed. Place a second on top and press together. I found that the pizzelles broke if I pushed too hard, so be gentle. Enjoy!


Sunday, August 21, 2016

Cannoli

Grandma used to make cannoli for special occasions. Cannoli make an appearance in one of my favorite movie lines of all time: "Leave the gun, take the cannoli" as seen in the clip from the Godfather below.

I love cannoli, but I have never actually made them. I was always intimidated by the need to deep fry the shells. But, if you buy pre-made cannoli shells, making cannoli is easy and allows you to make them to suit your own tastes. I bought mini cannoli shells instead of the regular larger size because they are easier to eat.

In order to fill the cannoli shells, I found a new use for my cookie press. Using one of the decorator tips that came along with the cookie press kit, it was very easy to fill the shells. I used mini chocolate chips, maraschino cherries and pistachio nuts for these cannoli. You could use other fruits, like candied orange, or any other toppings. The nice thing about making your own cannoli is that there is unlimited customization options.

Cannoli 
  • Cannoli shells
  • 16 oz. chilled and drained ricotta cheese
  • 2/3 cup confectioners sugar
  • 1 tsp. vanilla
  • dash cinnamon
  • optional: mini Chocolate chips, maraschino cherries, pistachio nuts
Combine the chilled, drained ricotta cheese and confectioners sugar. Mix well. Add in vanilla and cinnamon. The optional ingredients can be added into the cannoli cream or can be reserved to put on the ends of the cannoli. Refrigerate the cannoli cream for a few hours. Fill the cannoli shells with the cannoli cream. Place chocolate chips, nuts or cherries on the ends. Enjoy!

Wednesday, August 10, 2016

Lemon Ice

This Lemon Ice is a good cold treat on a hot August day. I found this recipe in Mom's recipe box. Although I don't recall her making this recipe, I do recall having these types of ice treats in the summer. And, this recipe is very similar to Italian Ice, which I do recall enjoying every summer. I especially love Mario's Italian Ice on Taylor Street, right behind my high school. Mario's closed over the winter, so every year when Mario's reopened, I knew that it was summer.

Mom's recipe calls for using ice cube trays as a mold. Then, the resulting lemon ice cubes could be used in a drink, which I am sure would be delicious. But, with my automatic ice cube maker, I don't own ice cube trays, so I poured the entire recipe into a bowl and froze it as a whole. Then, I used a spoon to scrape out the lemon ice into a small bowl for serving. Either way you choose to enjoy this recipe, I highly recommend on a 90 degree August day.

Lemon Ice 
  • 4 cups water
  • 1 cup sugar
  • Juice of 3 lemons (about 10 Tbsp.)
  • 1/4 cup cold water
  • 1 package unflavored gelatin
Soften gelatin in 1/4 cup cold water. Boil 4 cups water and sugar together for five minutes. Remove from heat and add lemon juice. Add softened gelatin to the syrup and stir until dissolved. Place in ice cube trays and freeze until firm (about 3 hours). Enjoy!