This recipe makes a delicious bread that can be eaten anytime. The name of the recipe might make you save this bread for the Christmas season, but you can enjoy it in any season. Mom's recipe card calls for shaping the bread into a candy cane and a Christmas tree, but you could just make a braided bread or any other shape. The name also implies that it would be a delicious bread served with breakfast or brunch, which is true, but it can be enjoyed all day.
This bread is rich, thick and slightly sweet. Mom's recipe calls for shaping a candy cane out of plain dough and the Christmas tree out of dough with candied fruit added. But you could add candied fruit to all of the dough or leave it out completely. Instead of candied fruit, I used dried cherries. Also, instead of one very large Christmas tree as described in the recipe, I made two smaller trees. Shaping the candy cane was much easier than shaping the tree. A holiday-shaped bread would be a nice treat for a holiday party. Whether you make a candy cane shape or a standard loaf, give this recipe a try.
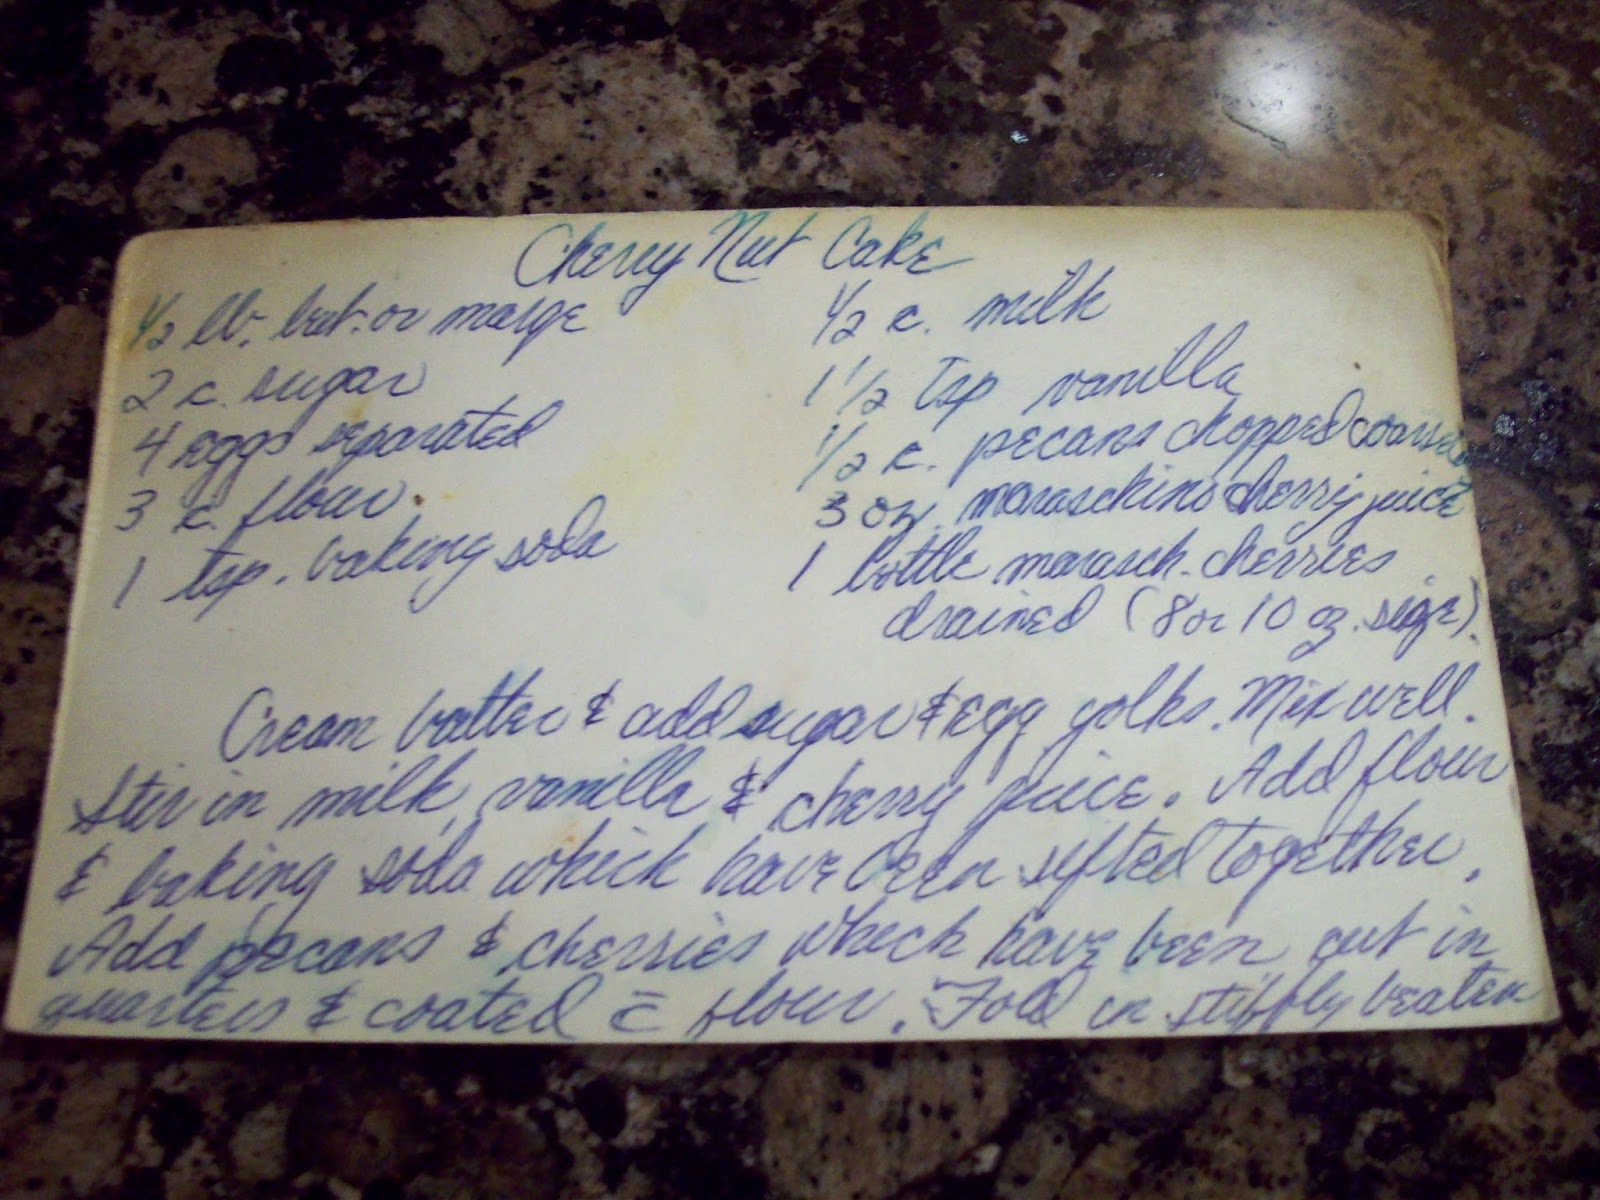
Christmas Coffee Bread
- 2 packages dry yeast
- 3/4 cup warm water
- 3/4 cup buttermilk
- 3/4 cup sour cream
- 5 1/2 cups flour
- 1/2 cup butter
- 1/4 cup sugar
- 2 tsp. baking powder
- 2 tsp. salt
- 1 cup candied fruit
- melted butter to brush on bread
- 1-2 cups Confectioner's sugar
- 1 tsp. vanilla
- food coloring, optional
- decorating sprinkles, optional
In a large bowl, dissolve the yeast in water that is about 120 degrees. Add buttermilk, sour cream, 2 1/2 cups flour, 1/2 cup butter, sugar, baking powder and salt. Blend all ingredient, scraping sides and bottom of the bowl. Stir in the remaining flour. Knead for five minutes on a lightly floured surface.
Shape one-third of the dough into a 30-inch rope. Fold the rope in half, twist together and form into a candy cane shape on a greased baking sheet. Brush with melted butter.
To the remaining dough, knead in candied fruit until evenly distributed. Shape into a 60-inch rope. Pinch off a one-inch segment for the trunk. On a greased baking sheet, Shape into a tree starting at the top, and increasing the length for each switchback turn. Brush the top with butter.
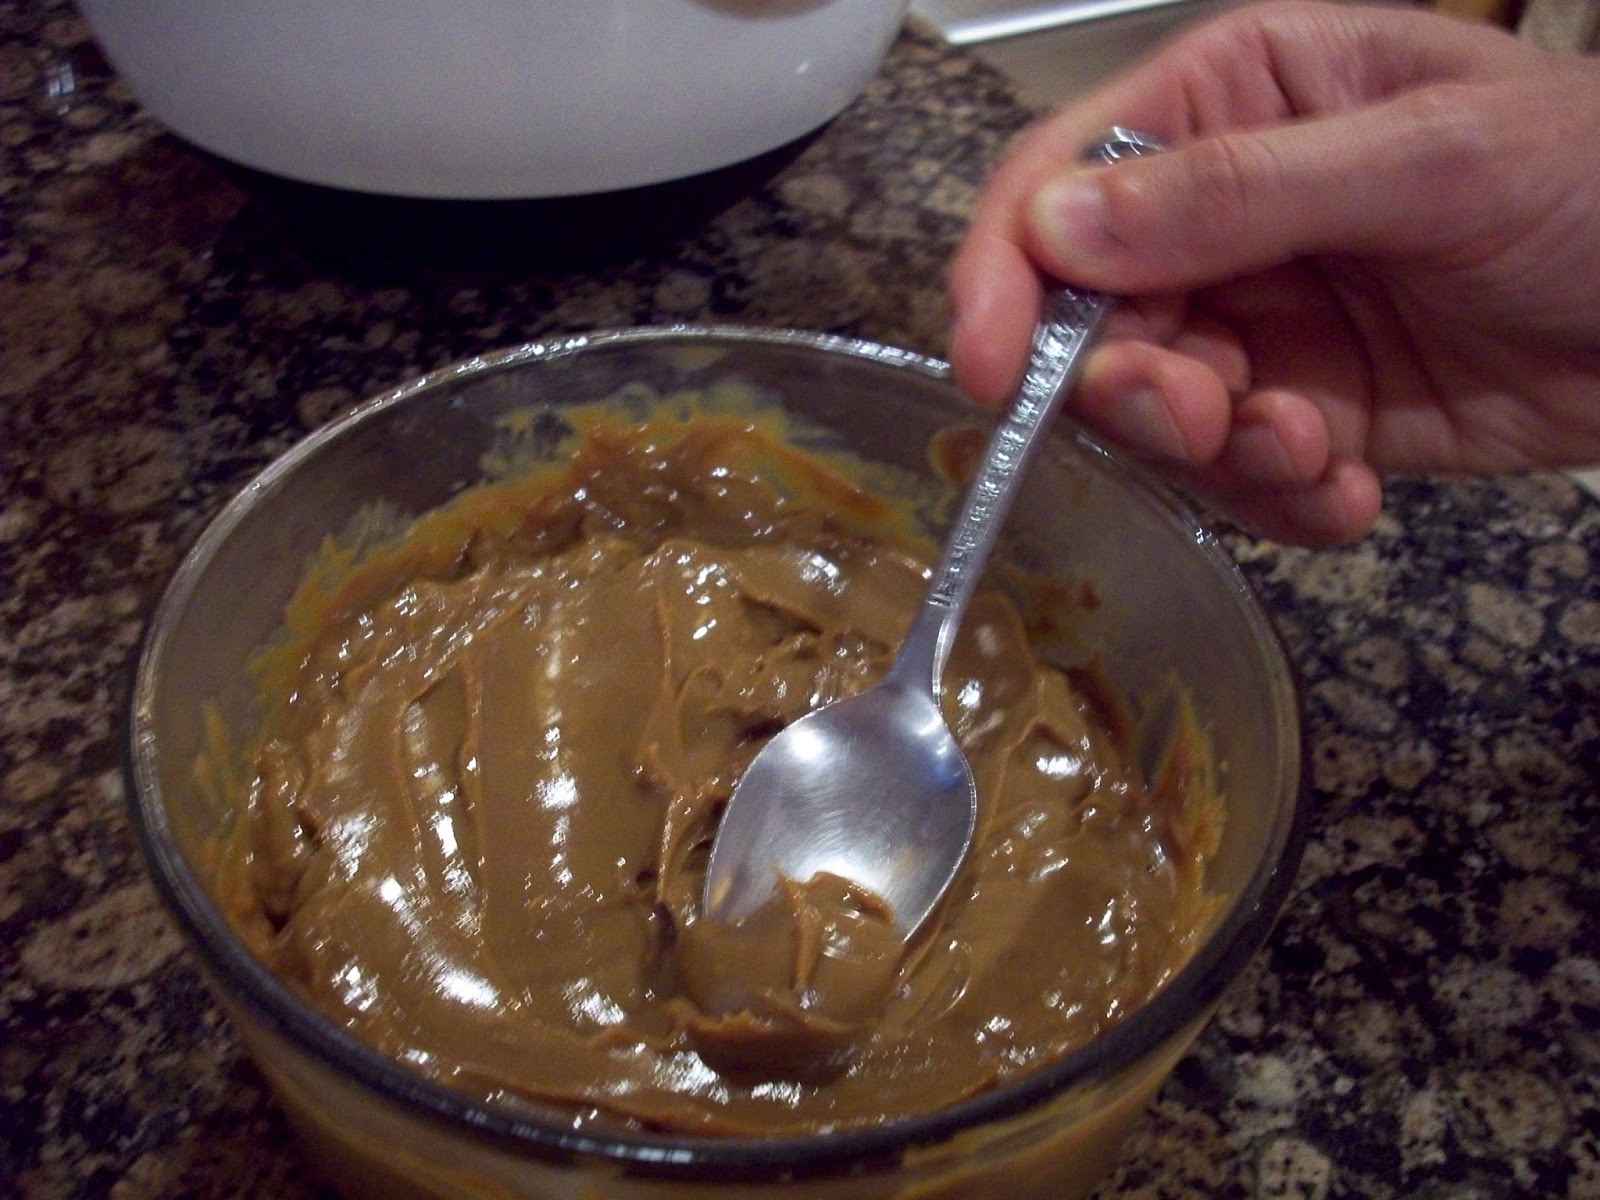
Set the bread in a warm place to rise for about an hour or two. Preheat oven to 375. Bake for 20-25 minutes. Cool. Make the frosting by combining the confectioner's sugar, vanilla, and a little bit of water until it reaches frosting consistency. Add food coloring, if desired. Frost the cooled bread. Add other decorations if desired. Enjoy!